VSport体育 - 胜利因您更精彩
VSport体育
办公网
0516-87815577
首页
关于我们
干部培训
高管教育
企业培训
煤矿行业
非煤矿山
钢铁行业
铸造行业
一般企业
粉尘行业
有限空间
危化行业
交通行业
水利行业
开班动态
技能培训
机械制造
信息技术
电工电子
经济管理
生活服务
其他培训
开班动态
新型学徒
技能认定公示
技能认定通知
国际教育
在线教育
学历教育
函授大专
报考条件
报考时间
报考须知
考试科目
考试费用
通知公告
录取查询
自学考试
特色培训
爆破人员
创新创业
退役军人
社区培训
老年大学
安全体验
思政培训
苏安夜校
无人机培训
应急救援培训
开班动态
党建工作
党建动态
党风廉政
主题教育
继教新闻
团队力量
联系我们
热点
高标准服务江苏省应急安全培训,提升领导干部处置突发事件能力,积极增强公众公共安全保障意识。
品牌
夯实安全生产管理基础,提高企业员工安全生产意识和安全技能,增强事故预防及应急能力,防止和减少安全生...
特色
以实际需要为基础,注重理论与实践相结合,提供灵活多样的培训方式,持续跟踪评估培训效果,确保培训的针...
热门专题
安全生产法
安全管理能力
应急预案编制
职业卫生
行政执法
......
2025年
10
最新开班
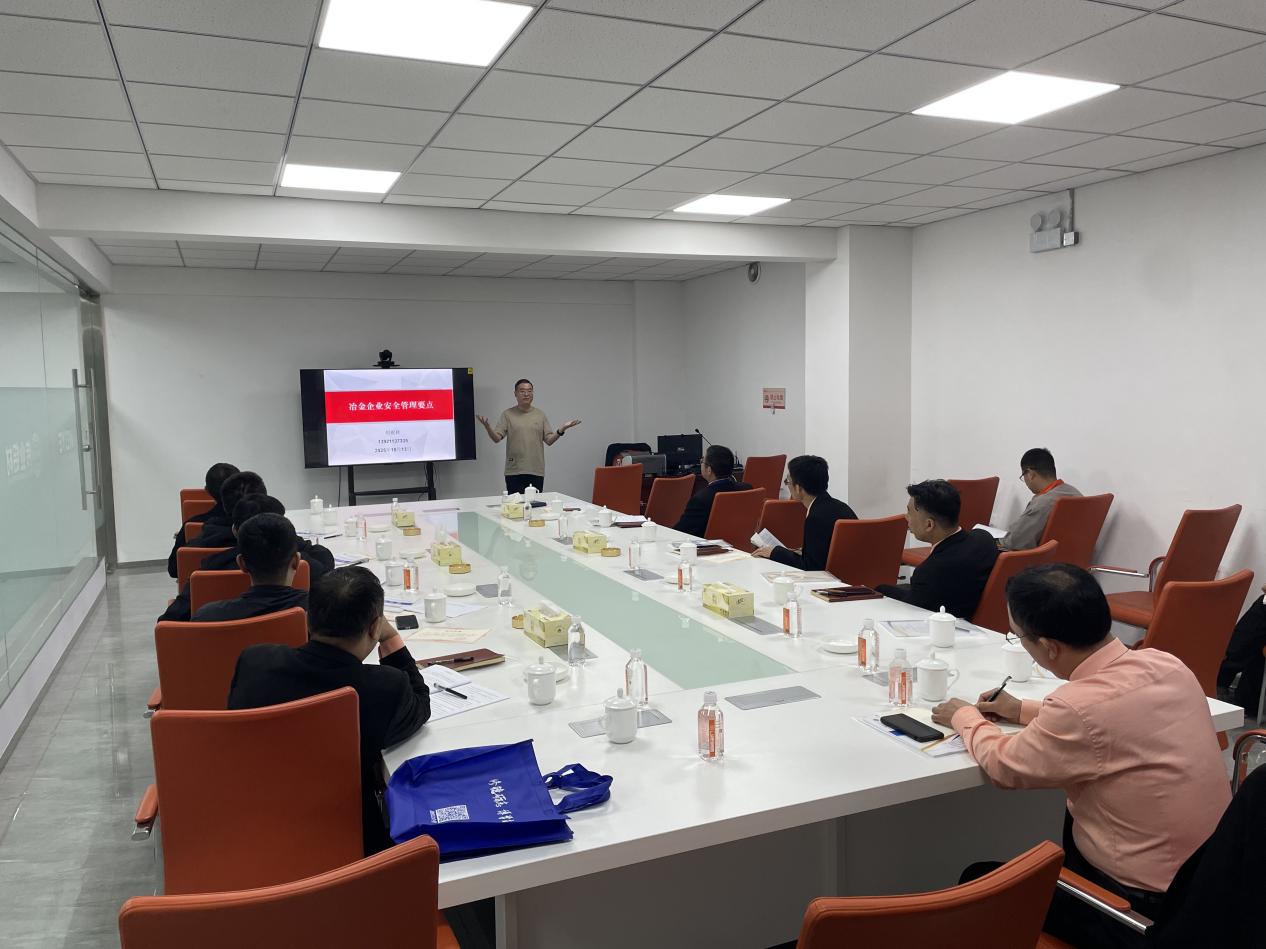
新沂市危化企业班组长安全生产培训班圆满结业
2025年
10
最新开班
2025年新沂市深井铸造企业班组长安全培训班顺利举办
2025年
09
最新开班
精准赋能基层治理 锻造社区服务精兵 —— 云龙工匠公司第三期...
2025年
09
最新开班
2025年睢宁县粉尘涉爆企业班组长培训顺利开班
2025年
09
最新开班
省沿海集团2025年安全生产管理人员能力提升专题培训班顺利开...
2025年
09
最新开班
2025年邳州市危化企业班组长培训班顺利开班
公司新闻
重点开班
继教新闻
新沂市危化企业班组长安全生产培训班圆满结业
10月13日,由徐州市总工会、徐州市人力资源和社会保障局、徐州市应急管理局联合主办,公司承办的新沂市危险...
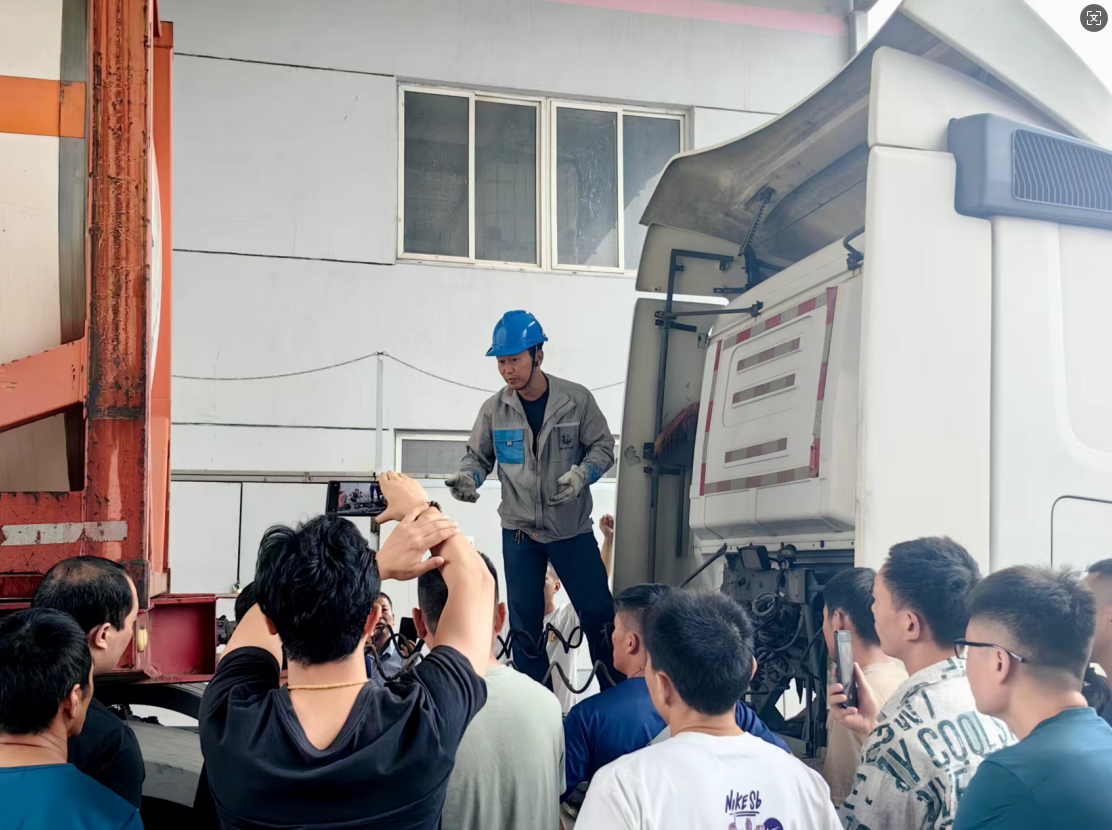
2025年新沂市深井铸造企业班组长安全培训班顺利举办
10月13日,由徐州市总工会、徐州市人力资源和社会保障局、徐州市应急管理局联合主办,公司承办的2025年新沂...
精准赋能基层治理 锻造社区服务精兵 —— 云龙工匠公司第...
2025-09-28
2025年睢宁县粉尘涉爆企业班组长培训顺利开班
2025-09-23
省沿海集团2025年安全生产管理人员能力提升专题培训班顺...
2025-09-18
2025年邳州市危化企业班组长培训班顺利开班
2025-09-18
2025年邳州市粉尘涉爆企业班组长培训班顺利开班
2025-09-18
2025年全国应急管理知识比赛江苏参赛队培训班顺利开班
2025-09-18
2025年沛县危化企业班组长培训班顺利开班
2025-09-18
2025年沛县钢铁企业班组长培训班顺利开班
2025-09-18
2025年沛县深井铸造企业班组长培训班顺利开班
2025-09-18
2025年丰县危化企业班组长培训班顺利开班
2025-08-26
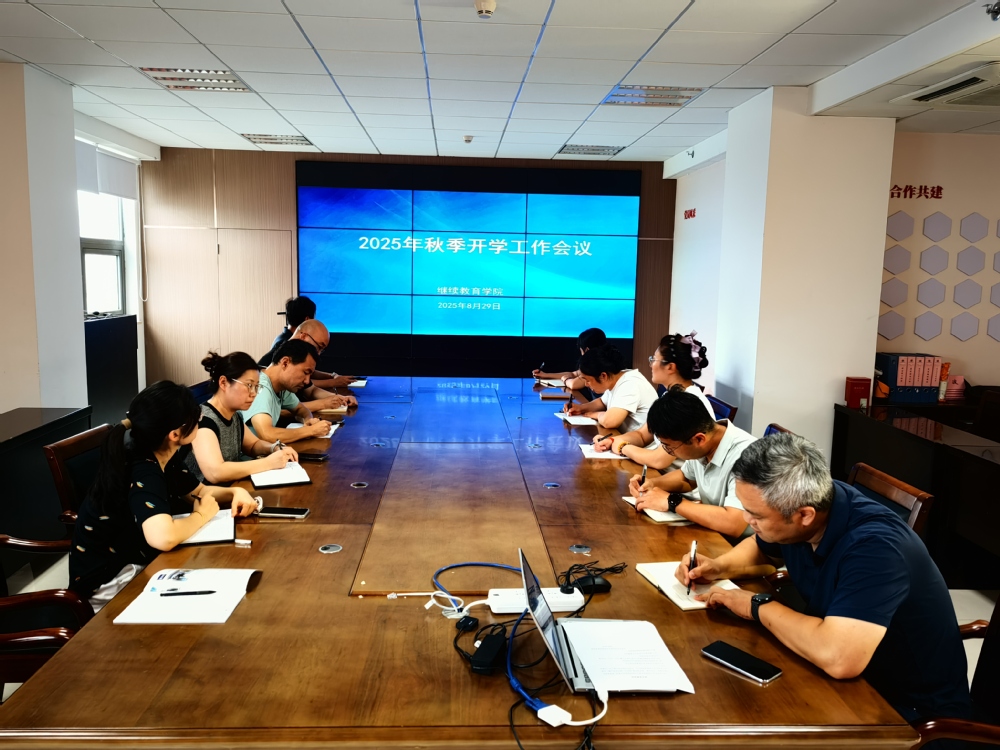
公司召开 2025 年秋季开学工作会议
为确保新学期各项工作有序推进,明确目标任务、凝聚工作合力,2025 年 8 月 29 日,VSport体育在综合楼 9...
VSport体育与省石油流通行业协会共商合作 聚...
6月11日,石油流通行业2025年“诚信经营、优质服务”典型案例推荐宣传活动华东区域启动仪式在南京举行。江...
思政宣讲、AI赋能、安全生产、职业健康…… 云龙工人“...
2025-06-11
VSport体育举办 "专接本" 政策解读宣讲会
2025-04-18
“指尖造物 ‘包’裹幸福”手工包DIY沙龙活动
2025-03-08
热烈庆祝公司成功通过徐州市退役军人补贴性教育培训承训...
2025-03-06
关于举办庆祝“三八”妇女节 “指尖造物 ‘包’裹幸福”...
2025-03-05
市职业技能评价管理中心莅临公司开展 以案促改检查工作
2025-02-27
公司召开2025年春新学期部门工作会议,共绘发展...
2025-02-18
公司召开2024年度工作总结会议
2025-01-09
秋意浓,情更浓——VSport体育工会小组举办会员秋游垂钓...
2024-11-19
公司召开财务缴费大厅智培系统使用专题学习会议
2024-10-21
个性技能培训
特色技能个人研修
党政干部培训
定制化党政机关单位培训
企业管理培训
顾问式企业人才队伍培训
特色安全培训
江苏经验、江苏方案、江苏模式
在线项目
公益直播
更多>
应急培训
监督执法
团队培训
特种作业
救灾减灾
政策法规
七新培训
机构培训
其他培训
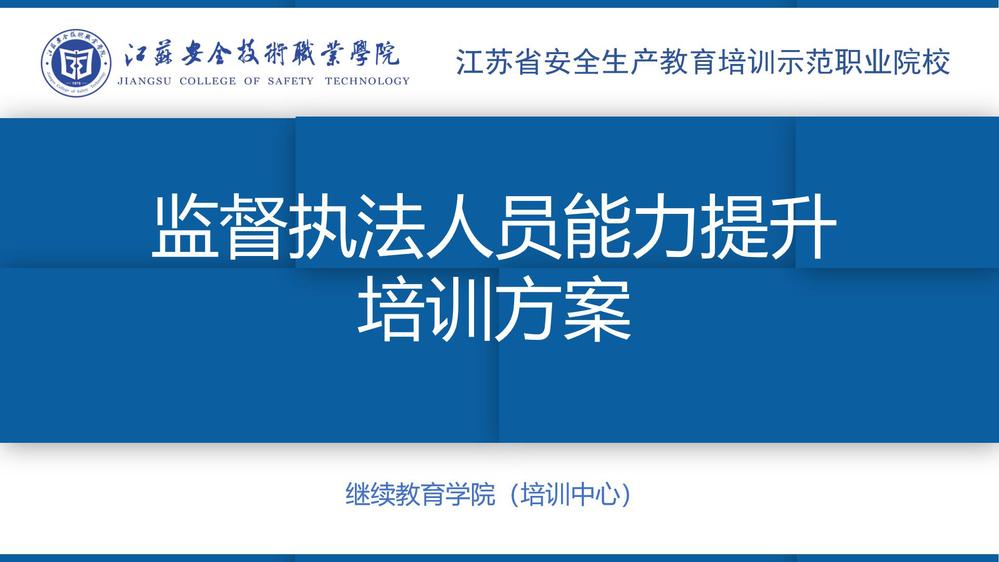
【应急管理】监督执法人员能力提升培训
【煤矿企业】安全培训团队培训
【特种作业】熔化焊接与热切割作业培训
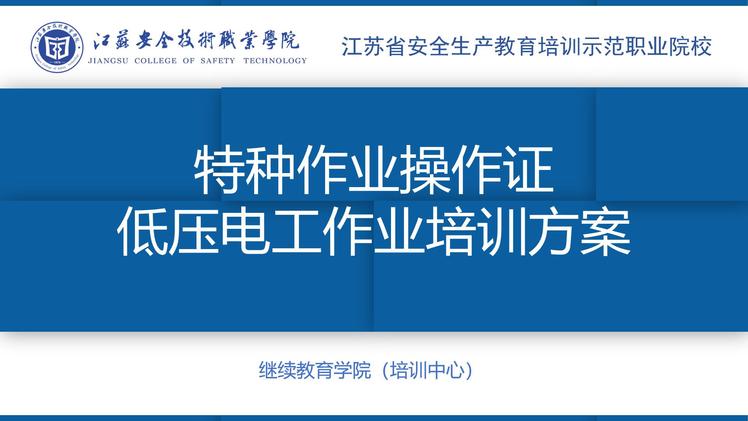
【特种作业】低压电工作业培训
【特种作业】高压电工作业培训
2023-07-17
【应急管理】救灾减灾人员能力提升培训
【煤矿企业】“七新”培训
【应急管理】培训机构人员能力提升培训
VSport体育动态
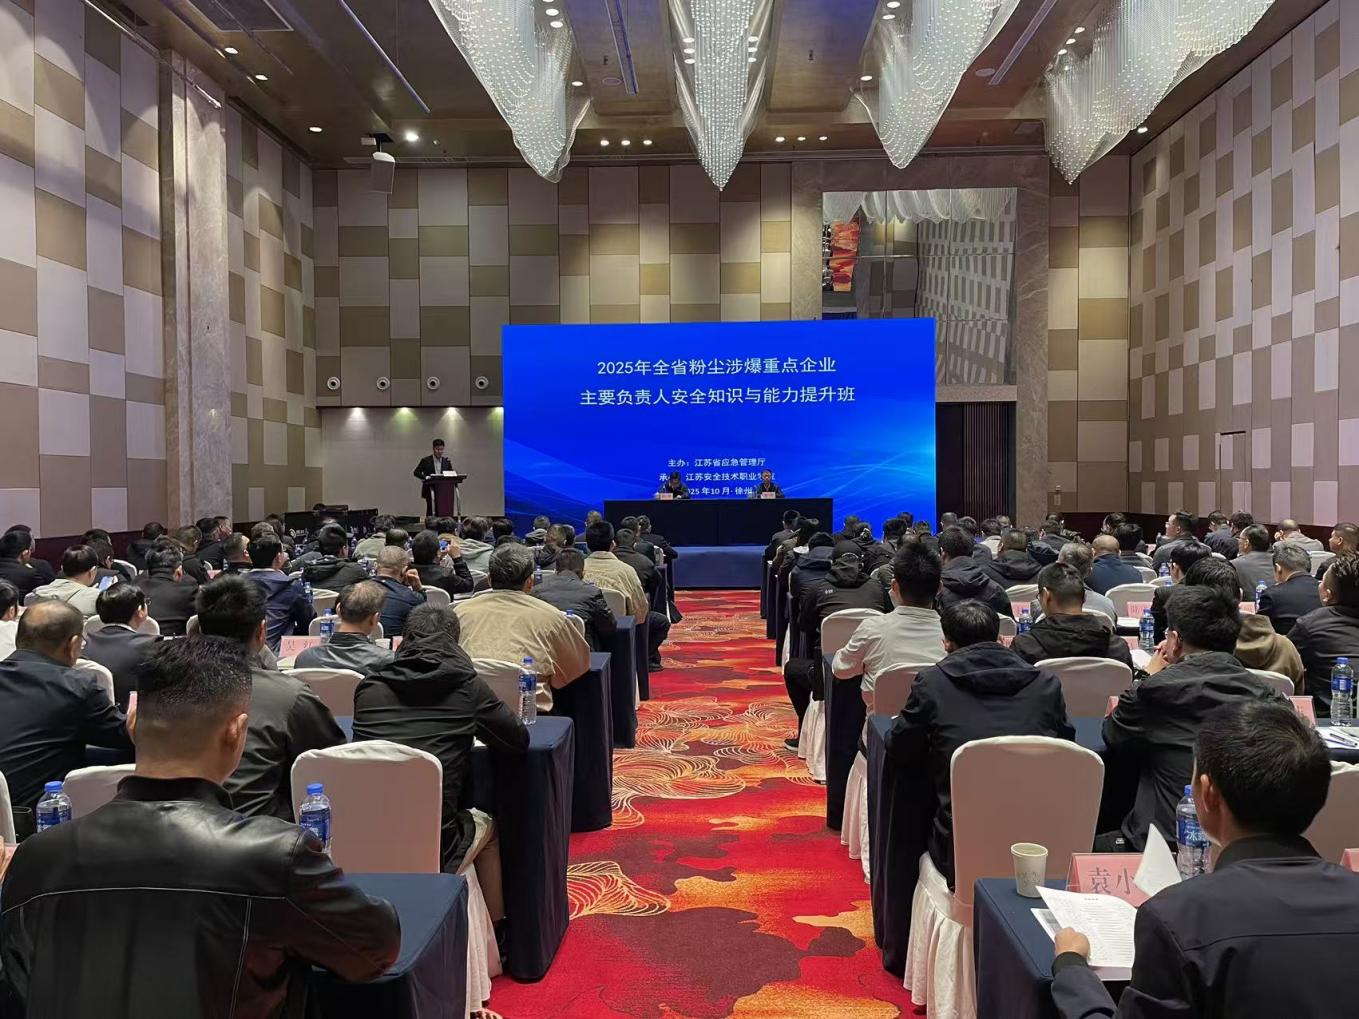
全省粉尘涉爆重点企业主要负责...
2025-10-21
新沂市危化企业班组长安全生产...
2025-10-14
2025年新沂市深井铸造企业班组...
2025-10-14
精准赋能基层治理 锻造社区服...
2025-09-28
2025年睢宁县粉尘涉爆企业班组...
2025-09-23
省沿海集团2025年安全生产管理...
2025-09-18
2025年邳州市危化企业班组长培...
2025-09-18
企业培训
煤矿行业
非煤矿山
钢铁行业
铸造行业
一般企业
粉尘行业
有限空间
危化行业
交通行业
水利行业
【煤矿企业】职业健康管理人员培训
【煤矿企业】安全培训团队培训
【煤矿企业】安全培训管理人员素质提升培训
2023-07-19
【煤矿企业】安全生产标准化与双重预防机制培训
2023-07-19
【煤矿企业】“七新”培训
2023-07-15
【非煤矿山】安全管理人员培训
【钢铁企业】安全管理人员培训
【深井铸造企业】安全管理人员培训
【一般企业】安全管理人员培训
【粉尘企业】安全管理人员培训
【有限空间企业】安全管理人员培训
【危化企业】安全管理人员培训
【交通行业】交通运输企业相关工...
VSport体育动态
煤矿安全生产标准化与双重预防...
2025-05-29
2023年淮河水利委员会治淮工程...
2023-11-23
煤矿主要负责人及矿级管理人员...
2023-06-06
煤矿主要负责人及矿级管理人员...
2023-05-11
煤矿安全生产标准化第一期培训...
2023-04-27
煤矿企业安全生产管理人员第三...
2023-04-20
中心举办第一期煤矿企业职业健...
2023-04-04
特色培训
爆破人员
创新创业
退役军人
社区培训
老年大学
安全体验
思政培训
无人机培训
【爆破作业】爆破作业人员培训
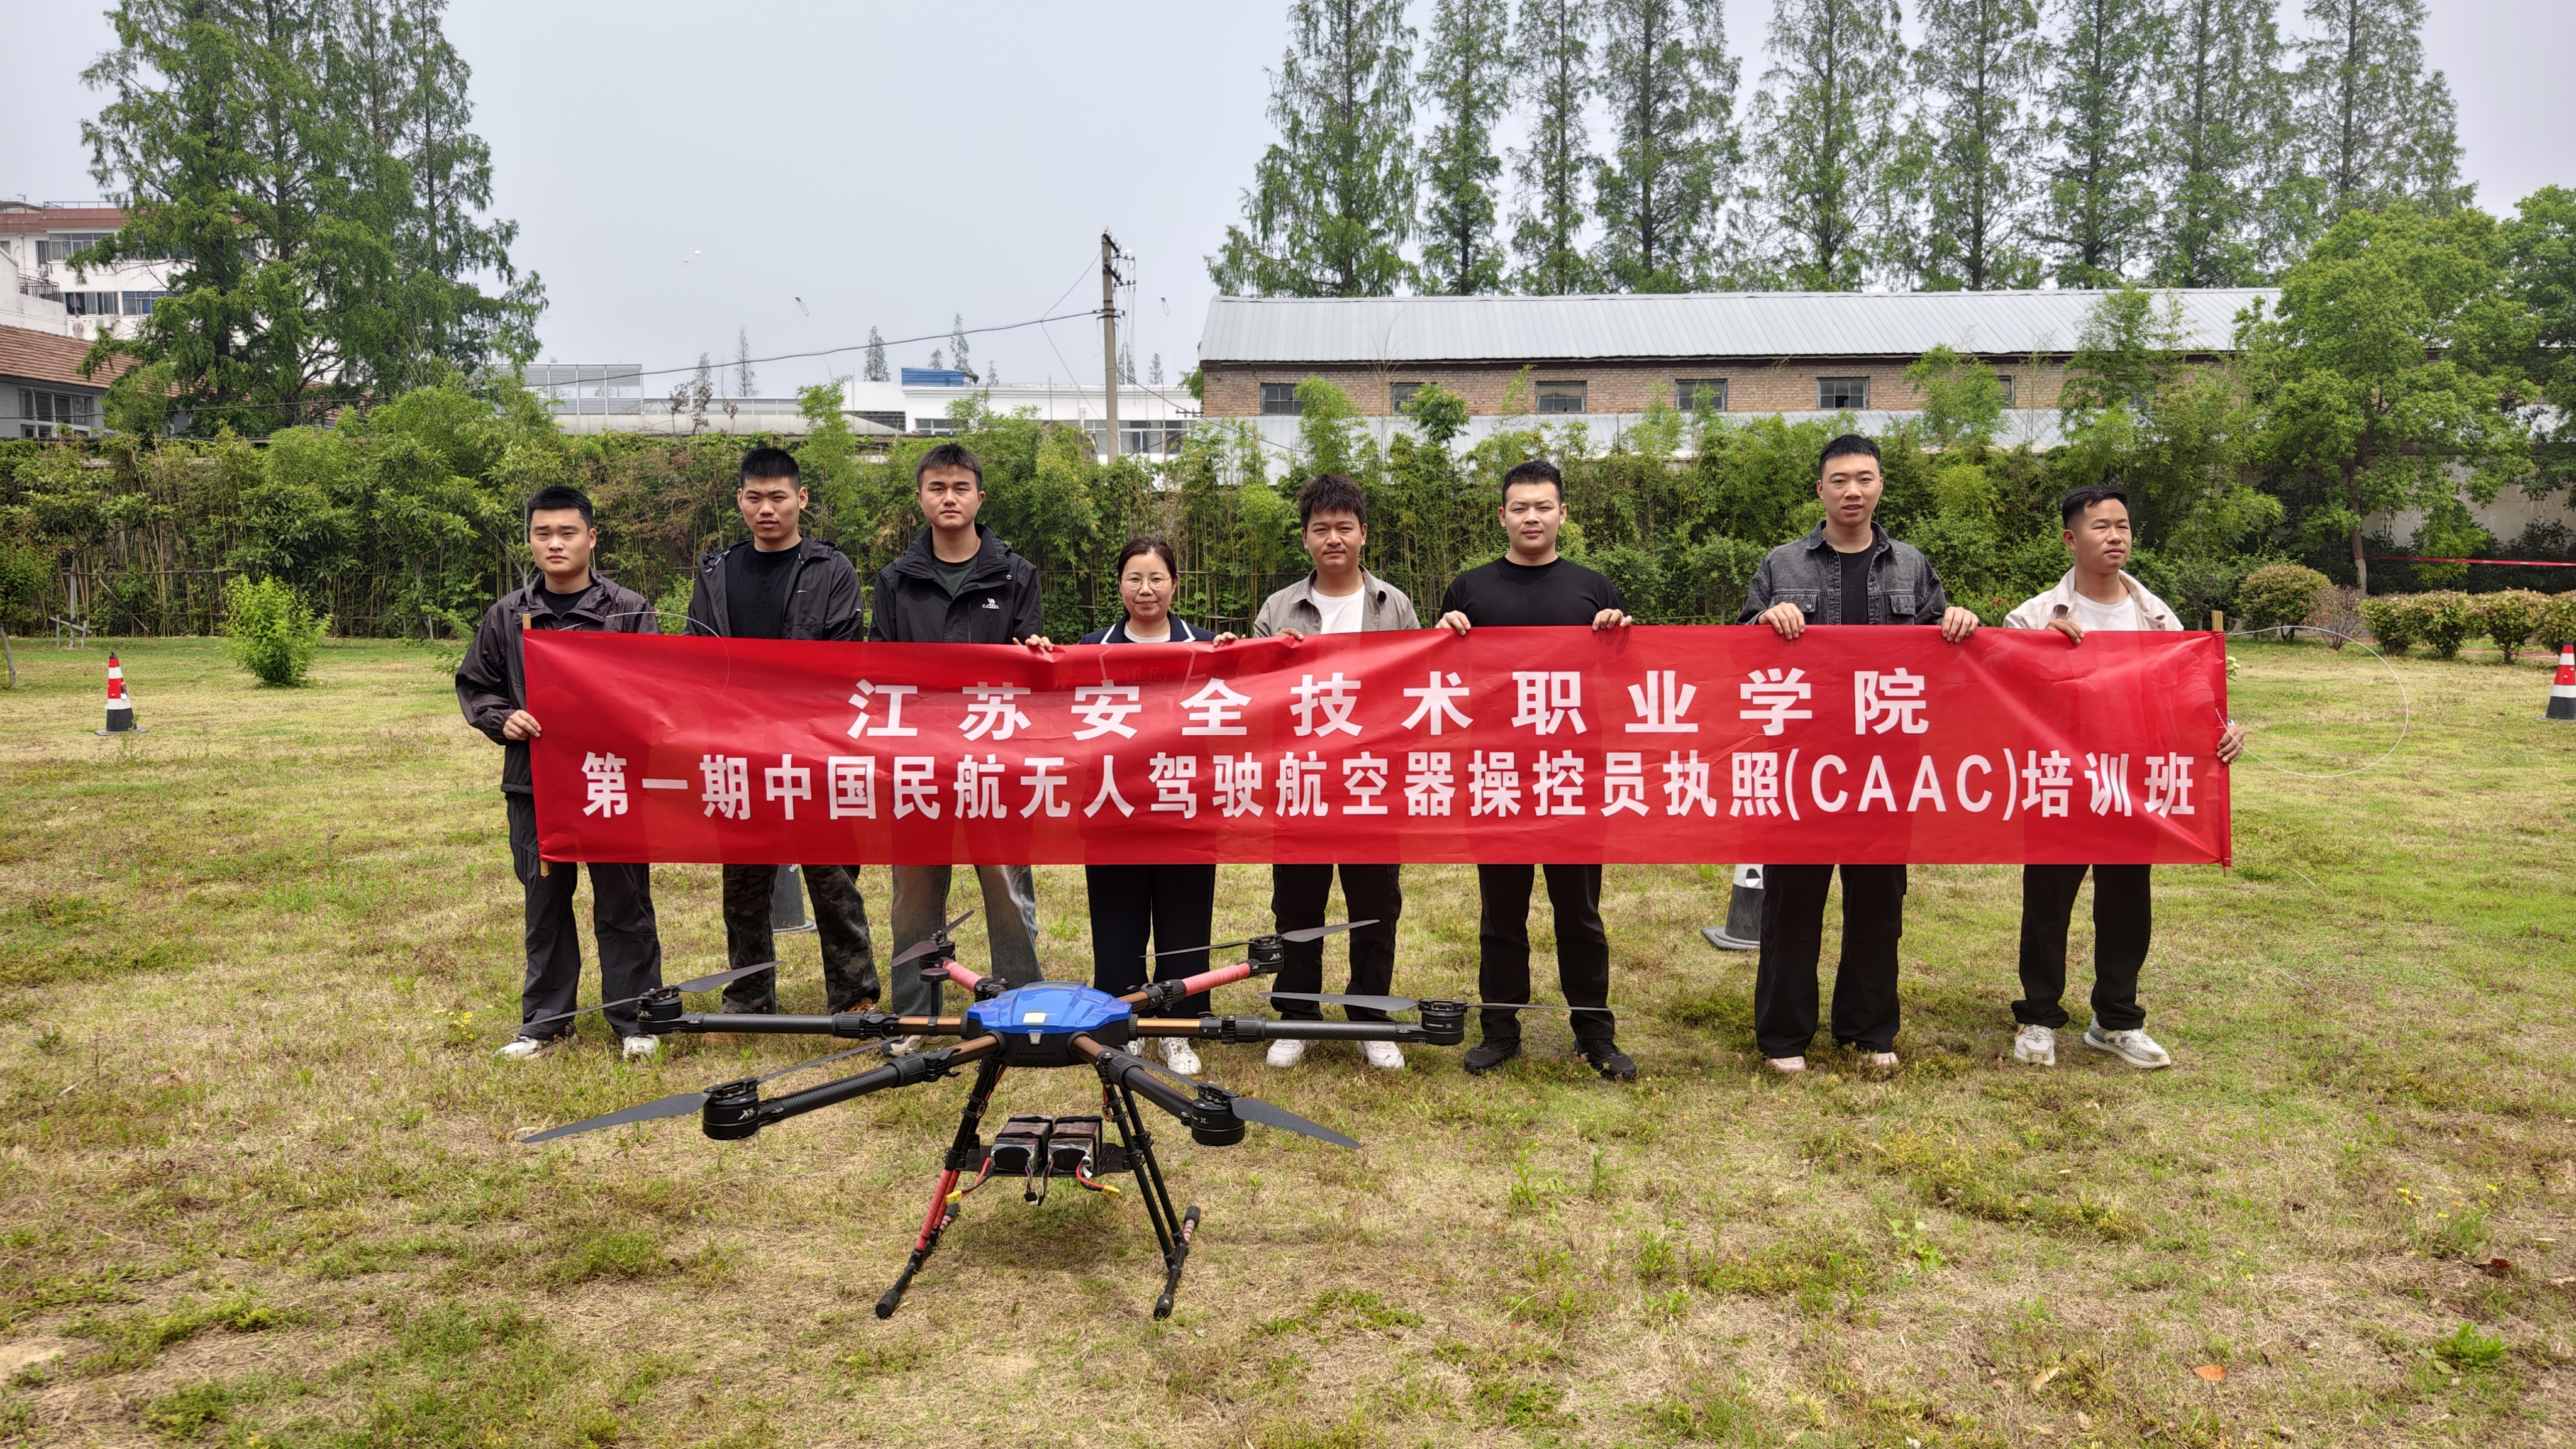
公司举办首期中国民航无人驾驶航空器操控员执照(CAAC)培...
【退役军人】新能源汽车检测与维修培训方案
【退役军人】汽车检测与维修培训方案
2023-09-10
VSport体育动态
中国民航无人驾驶航空器操控员...
2025-05-13
VSport体育第一期应急救援员...
2024-06-20
VSport体育开展《关注健康,...
2023-12-09
VSport体育开展《关注健康,...
2023-12-03
VSport体育开展《关注健康,...
2023-12-03
2023年VSport体育开展“关爱...
2023-11-27
2023年VSport体育开展“智享...
2023-11-26
技能培训
机械制造
信息技术
电工电子
经济管理
生活服务
其他培训
新型学徒
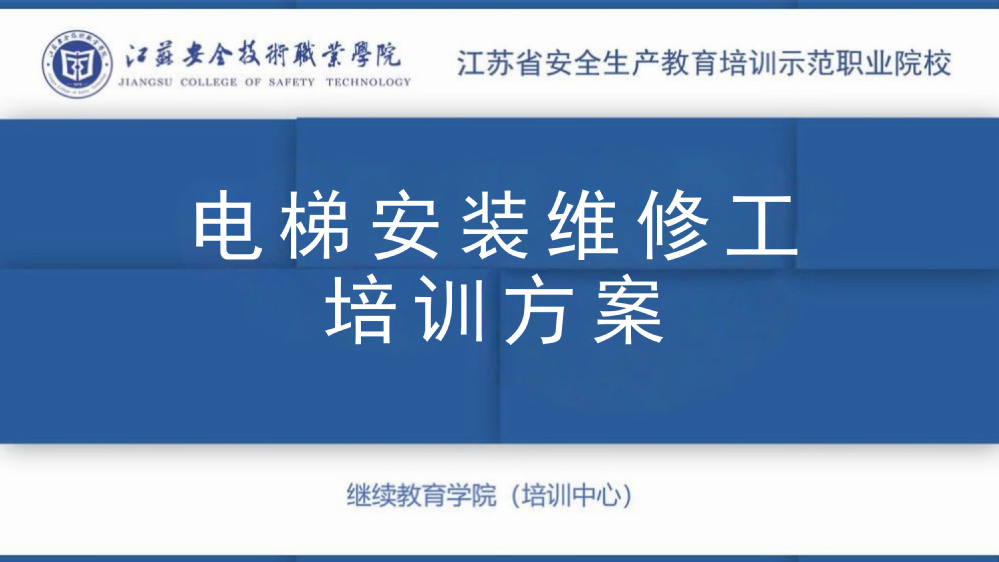
【技能评价】电梯安装维修工培训方案
【技能评价】装配钳工培训方案
【能力提升】焊工技能提升培训方案
2025-04-23
【技能评价】车工(数控车工)培训方案
2025-04-23
【技能评价】铣工(数控铣工)培训方案
2025-04-23
【技能评价】室内装饰设计师培训方案
【技能评价】制图员培训方案
【技能评价】云计算系统维护培训方案
2025-05-12
【技能评价】渗透测试技能培训方案
2025-05-12
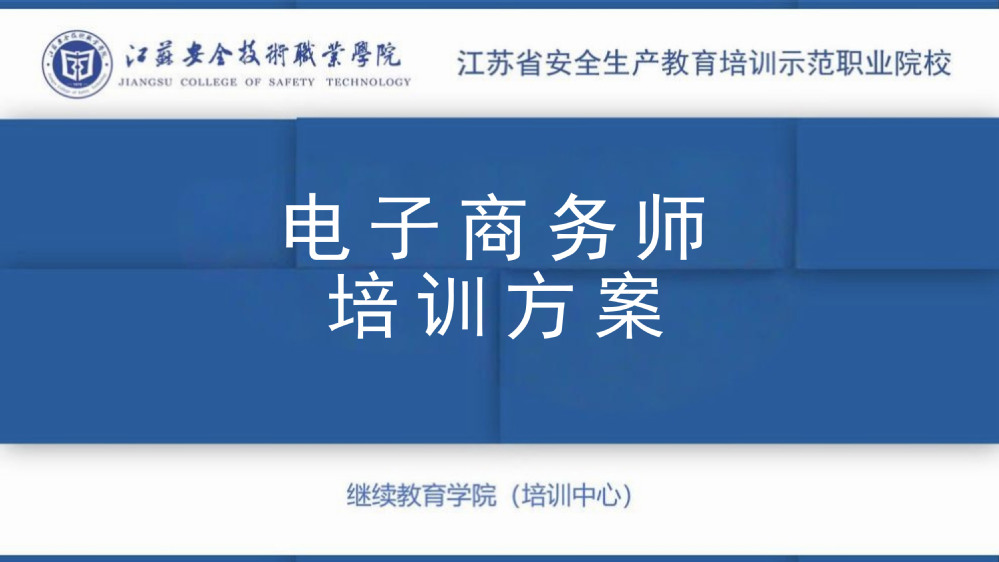
【技能评价】电子商务师培训方案
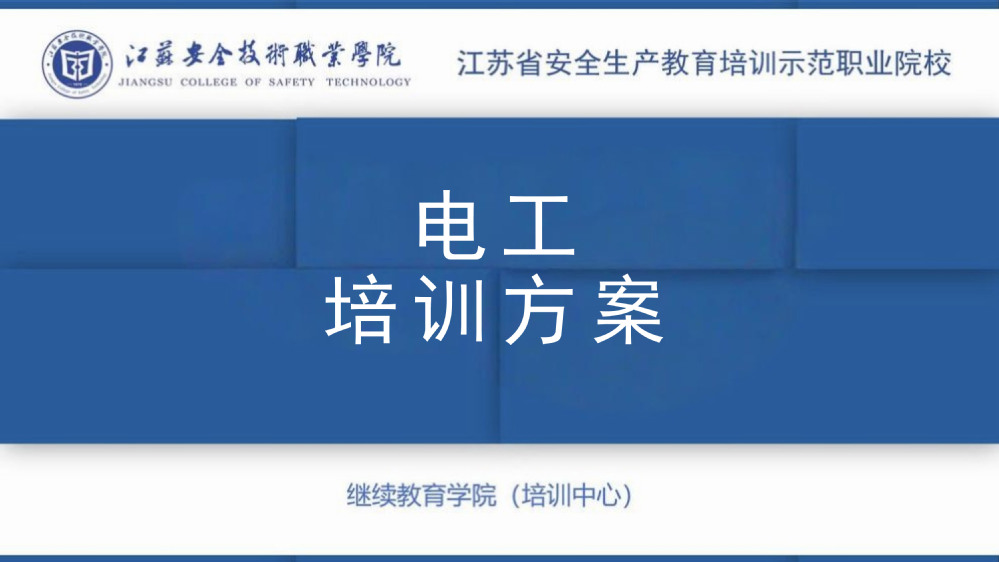
【技能评价】电工培训方案
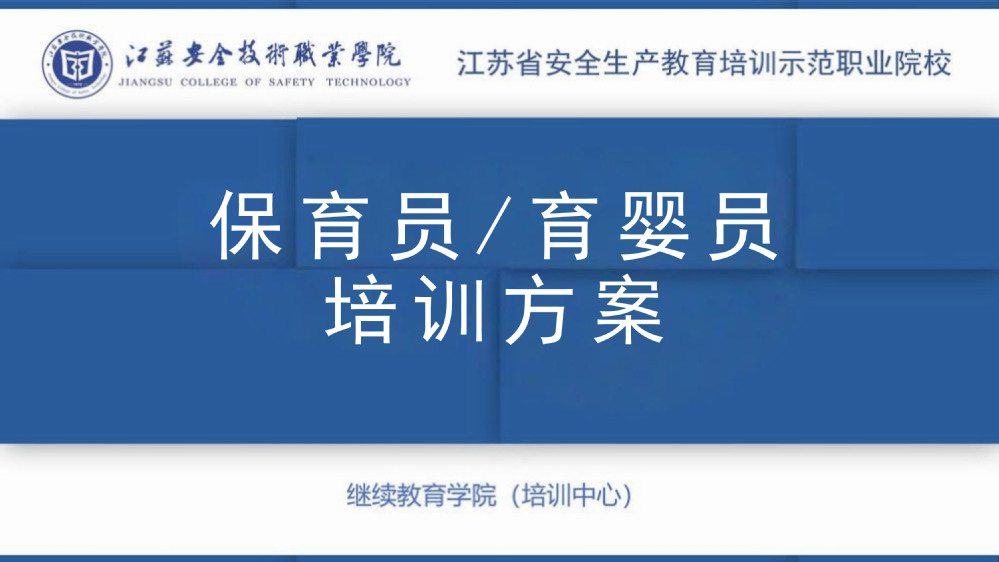
【能力提升】保育员/育婴员培训方案
VSport体育动态
现场教学
更多>
全省粉尘涉爆重点企业主要...
为深刻吸取粉尘爆炸事故教训,进一步强化全...
新沂市危化企业班组长安全...
10月13日,由徐州市总工会、徐州市人力资源...
技能认定公示
更多>
2024-32030007-00056批次等级认定结果公示
2024-32030007-00052、054、055批次等级认定结果公示
2024-32030007-00050、051、053批次等级认定结果公示
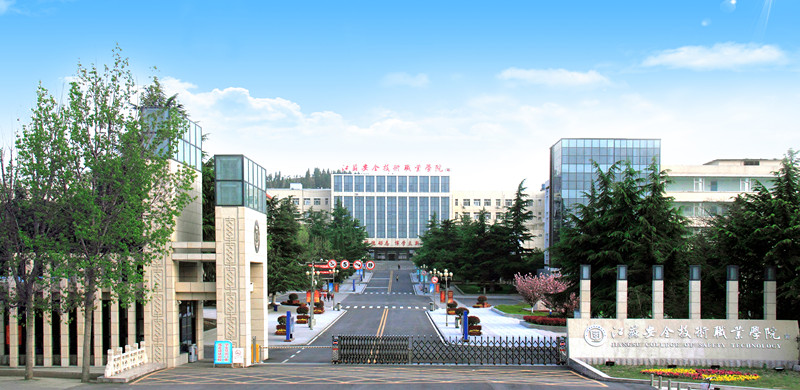
校园映像
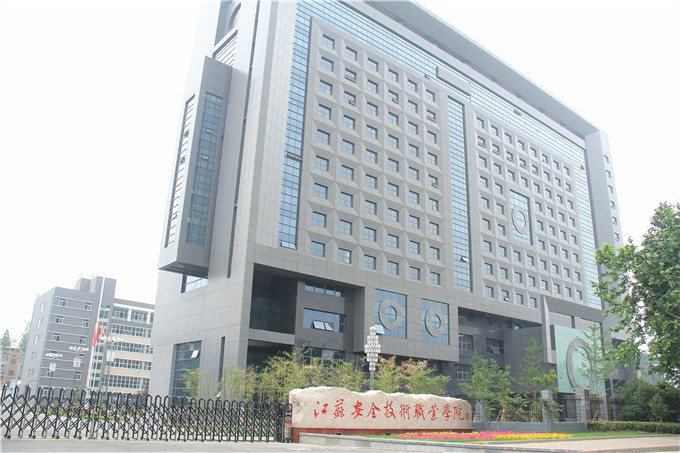
校园环境(贾汪校区)
贾汪校区全景图贾汪校区公司校训文化中心文化广场慧湖慧湖长廊办公楼机械工程系教学楼电气工程系教学楼安全...
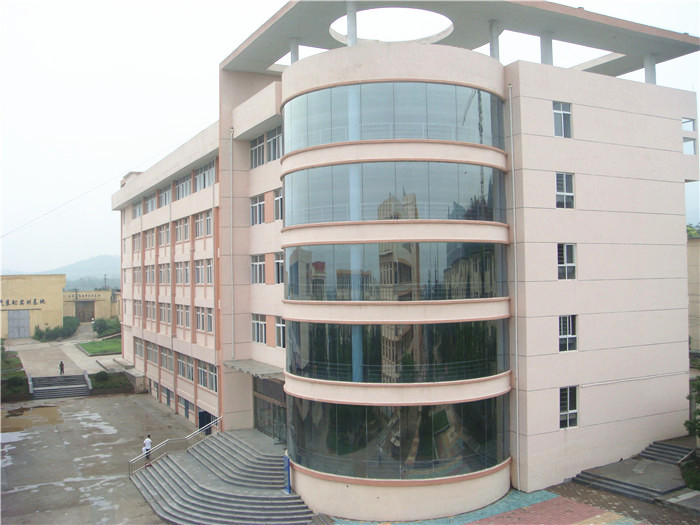
校园环境(云龙校区)
云龙校区教学主楼员工宿舍楼员工餐厅美丽的校园图书馆员工阅览室电子阅览室机房汽车二级维护实训车间汽车钣...
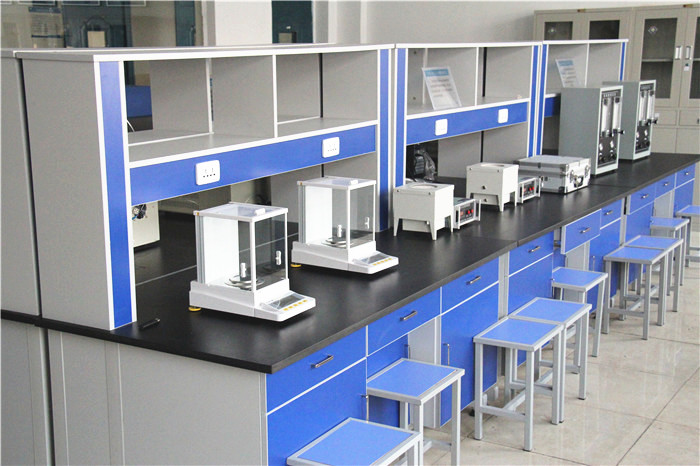
实验实训室
实训基地
现代化实训大楼实验实训楼群电气工程系实训基地图片集光机电一体化实训室(省级示范专业)液压与气动控制技...
培训学习
办学设施
公司餐厅
住宿安排
关于公司
公司介绍
办学优势
特色培训
后勤保障
培训项目
应急培训
企业培训
特色培训
技能培训
继教新闻
公司召开 2025 年秋季开...
VSport体育与省石油流...
思政宣讲、AI赋能、安全生产、职...
VSport体育举办 "专接本" 政策...
“指尖造物 ‘包’裹幸福”手工...
站内导航
旧版回顾
项目回顾
员工中心
培训管理平台
在线咨询